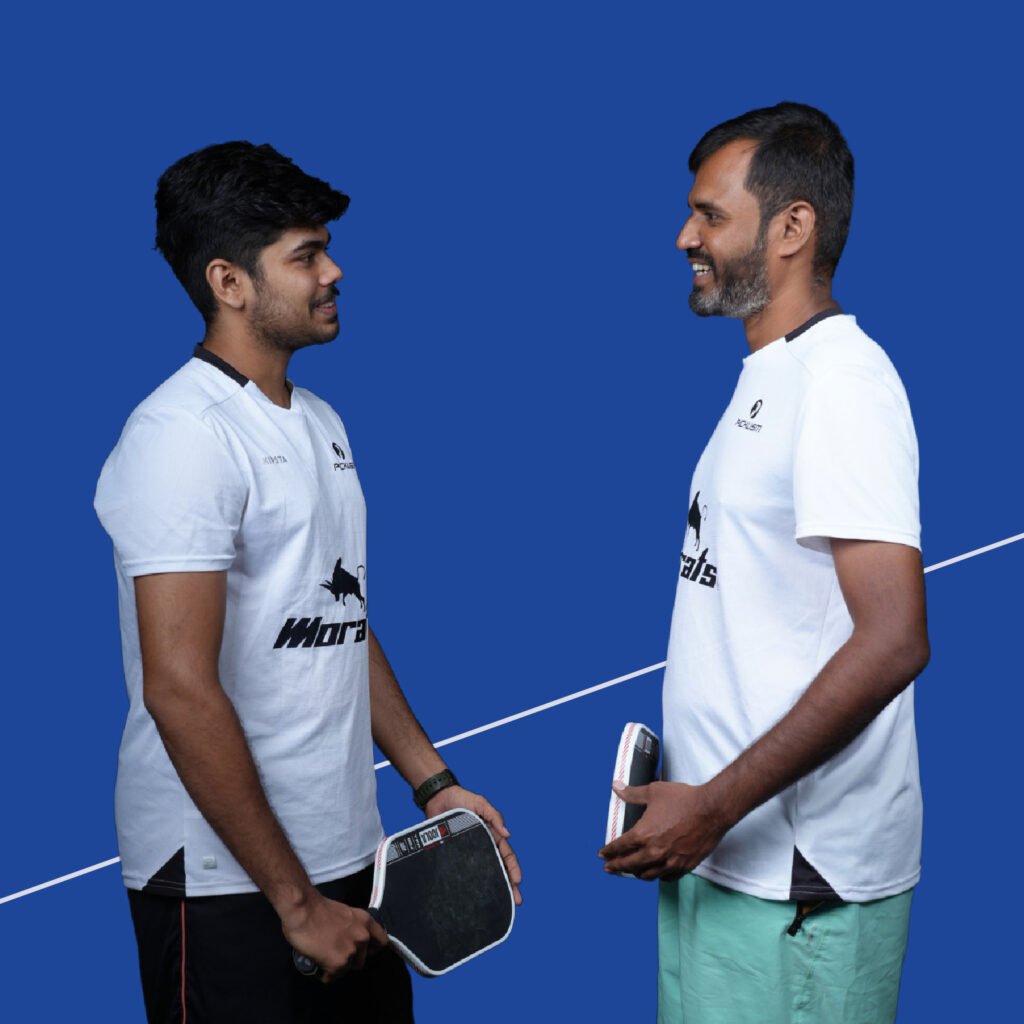
Build the Fundamentals First
Most beginners assume improvement comes from playing more matches. It doesn’t, at least not on its own. Playing games teaches you how to make decisions under pressure, but it doesn’t give you the repetition needed to build consistent technique. During a match you might get two or three opportunities to practise a third shot drop. During a focused drill, you can repeat the same shot dozens of times with a clear purpose. The goal of beginner practice isn’t to hit harder or attempt more advanced shots. It’s to build reliable, repeatable technique on the shots you will play in almost every single rally. These five drills give you exactly that foundation.
1. The Serve and Return Drill
Every rally begins the same way: a serve and a return. Yet most beginners spend almost no focused time on either of these shots outside of actual matches. This drill fixes that. Not sure about the serve rules? Our Pickleball Rules Explained guide covers everything you need to know before stepping on court.
How to run it: One player serves while the other returns. Don’t play the point out. Focus entirely on the quality of both shots. Start with 10 serves, then switch roles.
On the serve, focus on getting the ball in consistently with a comfortable margin from the lines. Placement matters more than power at this stage. On the return, aim deep into the court,toward the middle or a deep target, often slightly toward the opponent’s backhand side. A deep return gives the receiving team time to move forward toward the Kitchen rather than scrambling to recover.
The mistake to avoid: Don’t aim directly at the baseline every serve or return. Give yourself margin. A return that lands safely inside the court is far more useful than one that frequently sails long chasing a perfect depth.
If the serve starts the point, the dink becomes an important part of the soft game. The sooner you get comfortable with dinking, the faster your overall game develops.
A dink is a controlled, low shot placed into the opponent’s Kitchen. It’s not about pace. It’s about height, placement, and patience. If you’re not yet familiar with the Kitchen and why it matters, read our full guide on Understanding the Kitchen Rule before working on this drill.
How to run it: Stand at the Kitchen line opposite your partner and exchange straight dinks to begin. Once comfortable, move into crosscourt dinking. Keep the ball low over the net and focus on maintaining a controlled rally rather than finishing points. Start with a target of 10 consecutive dinks, then build toward 20 and 30 as your touch improves.
The mistake to avoid: Turning every dink into a fast, hard shot. A relaxed swing with good contact is what creates a reliable dink. Think control first, pace later. A well-placed dink that stays low forces your opponent to lift the ball, which creates your opportunity to attack, not the other way around.
3. The Third Shot Drop Drill
This is the shot that separates players who are just hitting the ball from players who are actually building points. The third shot drop is a soft, arcing shot from the baseline designed to land in the opponent’s Kitchen, neutralising their advantage at the net and creating space for the serving team to move forward.
How to run it: Start near the baseline with your partner positioned at the Kitchen line. Your partner feeds you a return. Rather than hitting hard, focus on a soft, controlled shot that lands in the kitchen and stays low. After each drop, move forward with control toward the Kitchen rather than rushing blindly. Repeat for several rounds, then switch roles.
The mistake to avoid: Using a big backswing. The third shot drop requires a compact motion and good balance, not a large swing trying to scoop the ball over. Focus on getting behind the ball and creating a smooth arc. The shot doesn’t need to be perfect immediately. Building a repeatable, controlled motion is what matters at this stage.
4. The Volley and Block Drill
Once both teams are at the Kitchen, the game speeds up. Rallies become faster exchanges where there is no time for big swings or late reactions. This drill develops the compact paddle control and reaction speed you need to hold your own at the net.
How to run it: Stand with your partner at the Kitchen line and begin exchanging controlled volleys. Keep your paddle up and in front of your body. Use short, compact movements. Once you’re comfortable, have your partner gradually increase the pace. The objective isn’t to hit harder back. It’s to absorb the pace and keep the ball under control consistently.
The mistake to avoid: Swinging at every volley. At the Kitchen, a large backswing will leave you late to the ball more often than not. Stay balanced, keep the movement short, and let the paddle do the work. Confidence at the net comes from repetition, not from trying to hit winners.
5. Serve, Return, Third Shot: The Full Sequence
Once each individual skill has some foundation, this drill brings everything together into the actual beginning of a pickleball point.
How to run it: Player A serves. Player B hits a deep return. Player A attempts a third shot drop. After the drop is hit, both players move into position and play the point out naturally. Then switch roles and repeat.
What it teaches: This drill makes the connection between shots visible. A serve isn’t just about getting the ball in. The return isn’t just a stroke. The third shot isn’t just a drop. Together they set up the entire structure of the point and determine how both teams position themselves on the court.
It also builds an important habit: don’t rush after hitting. Strike your shot, recover your balance, and move forward when the situation genuinely allows it.
The mistake to avoid: Focusing only on whether the third shot landed. Look at the full sequence. Was the serve consistent? Was the return deep enough? Did you give yourself enough time to set up the drop? Did you move forward after hitting it? That is where the real learning happens.
How Long Should a Beginner Practise?
There’s no single ideal practice duration for every beginner. The right amount depends on your age, fitness level, experience, and whether you’re practising alone, with a partner, or in a coached session.
For most beginners, 60 to 90 minutes is a good starting point for a structured coaching session. This can include a combination of warm-up, focused drills, technique work, and guided match play. Individual drills can be kept to around 10 to 15 minutes, giving you enough repetition to develop the skill without allowing fatigue to affect your technique.
As your fitness, technique, and consistency improve, you can gradually increase the intensity and duration of your practice sessions.
Drills Versus Matches: Getting the Balance Right
Both matter, and neither replaces the other.
Matches teach you decision making under pressure, how to read a situation, when to attack, and when to reset. Drills give you the repetition to make a specific movement reliable enough to trust in a match. The combination is what builds real, lasting improvement.
A good beginner routine balances both: drill to develop the skill, play to learn when to use it. As your consistency grows, your drills can become more demanding by adding movement, targets, time pressure, and live-point situations. For structured coaching that builds these fundamentals the right way from day one, book a free trial at Picklism Academy.
Frequently Asked Questions